Installing the high resolution SNAP graphics driver on OS/2 Warp 3.
After installation, OS/2 Warp 3 is running with a screen resolution of 640×480 pixels, that isn't not really comfortable if you want to serious try out the operating system. So, installing some graphics driver with a higher resolution is not a must but highly recommendable. And, there actually is a driver (allowing resolutions like those of modern PC monitors) available and this driver, the SNAP graphics driver from Scitech, works perfectly on VMware (and other virtualization software). Beside the driver, we'll need a whole bunch of patches that have to be applied in order to make the driver work. No need to loose your time with searching the Internet for all these files, because the author of the article OS/2 on Virtualbox Guide at gekk.info has prepared a CDROM ISO that contains everything we need (big thanks to them!).
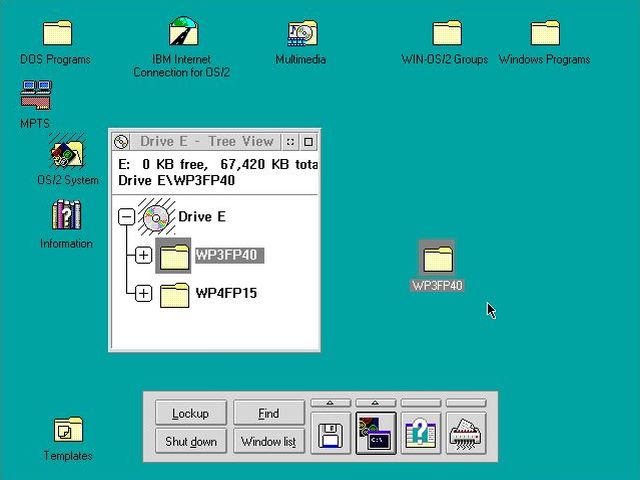
Here the direct link to download the SNAP driver ISO. Mount it in a virtual CD drive or directly within VMware workstation (or VMware player). On your OS/2 machine, open OS/2 System > Drives > {CD drive} in File Explorer. At this stage, we need the content of the folder WP3FP40, that we copy onto the OS/2 desktop. To do so click the folder with the right mouse button and drag it onto the desktop.
 |
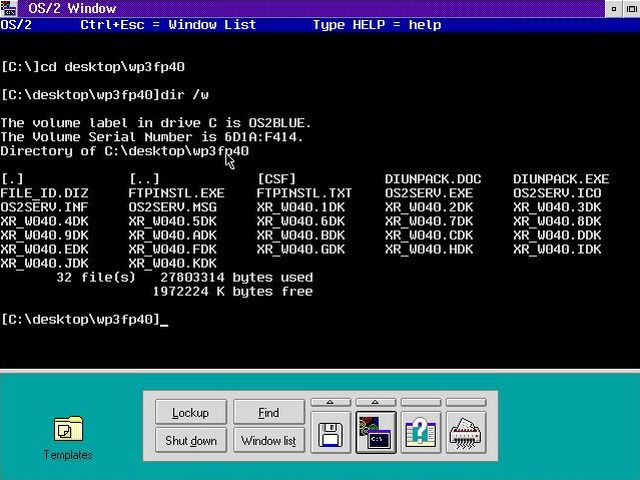
Open OS/2 Command Prompt and make the WP3FP40 folder your current directory:
CD C:\DESKTOP\WP3FP40
We can list the content of this folder using the command
DIR /W
On the screenshot you can see the program DIUNPACK.EXE and a bunch of files named XR_W040.{N}DK (where {N} is a
number from 1 to 9 or a letter from A to K). These are the files that we actually need at this stage.
 |
We'll go to unpack the .{N}DK files in a new directory called EXT, that we create in our current directory WP3FP40. To create the EXT directory
and making it the new current directory, enter the commands:
MKDIR EXT
CD EXT
Now let's extract the content of the .{N}DK files. For the first file XR_W040.1DK, enter the command:
..\DIUNPACK.EXE ..\XR_W040.1DK
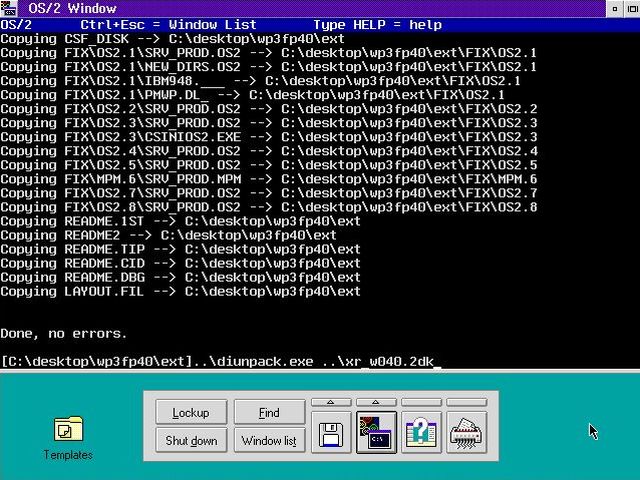 |
Repeat the extraction command for the resting files (XR_W040.2DK to XR_W040.KDK). Note, that you don't have to reenter the entire command for each file; just push the Up key to re-display the last command entered and then change the file extension as needed.
When all files are extracted, launch the service pack installation by entering the command
..\OS2SERV.EXE C:\DESKTOP\WP3FP40\CSF C:\DESKTOP\WP3Fp40\EXT
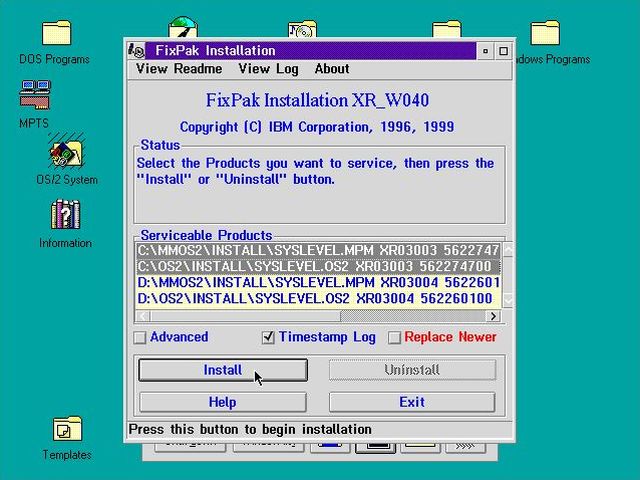
There are normally 2 service packs to be installed (at least I think so), a general one and a multimedia related one. Select them both (use the SHIFT key to make multiple selections) and push the Install button (screenshot on the left). The service pack installation program asks you for the drive, where to back up the old files (screenshot on the right), but maybe this is only asked if there are more than one disk partitions.
 |
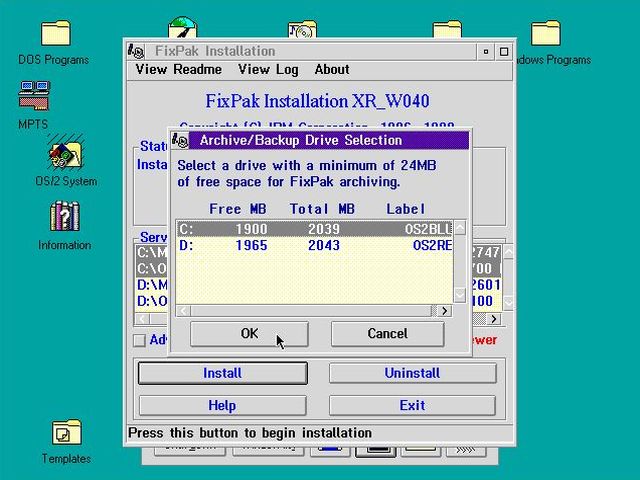 |
Note: The reason why the service pack installer on my system lists products for both drive C: and drive D: is that my OS/2 VM actually hosts a dual boot with OS/2 Warp 3 Blue Spine on the C: drive and OS/2 Warp 3 Red Spine on the D: drive.
In fact, the program that finally installs the service packs is called FSERVICE.EXE and runs in Command Prompt. You can use the key combination CTRL+ESC to display a list of the active windows, and then choosing (double-clicking) FSERVICE.EXE to see the progression of the installation. I have no screenshot of this window, because the time, I saved the screenshot with the backup question, the installation was already finished and a message box telling "Installation complete. Please shutdown the system and reboot" was displayed. So, reboot your computer here. No idea if this is what normally happens, but on my system the desktop didn't show up when I restarted the computer, but the boot menu was displayed a second time and this time all worked as it normally does.
Reopen the CDROM in File Explorer. Beside the two folders WP3FP40 and WP4FP40, you'll find the application SNAP_OS2.EXE (that installs the graphics driver) and the text file SNAP_OS2.TXT that contains the serial number for a 1-user license of the driver (a commercial graphics driver, oh yes!). Double-click SNAP_OS2.EXE to start the installation.
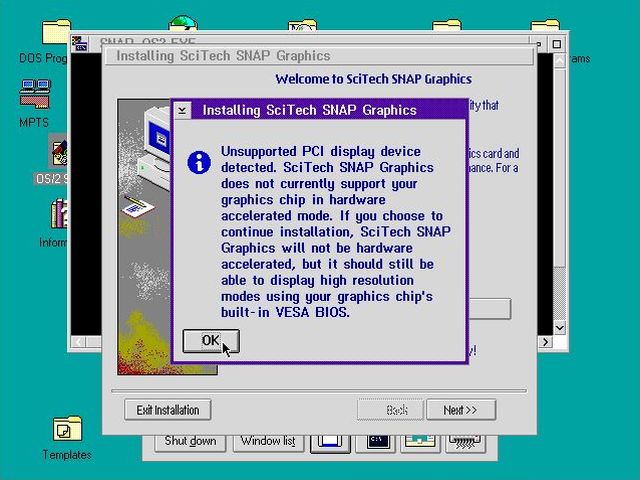
A message is displayed, saying that an unsupported PCI display device has been detected, but that it might nevertheless be possible to use high screen resolutions, when continuing the driver setup. Just push the OK button.
 |
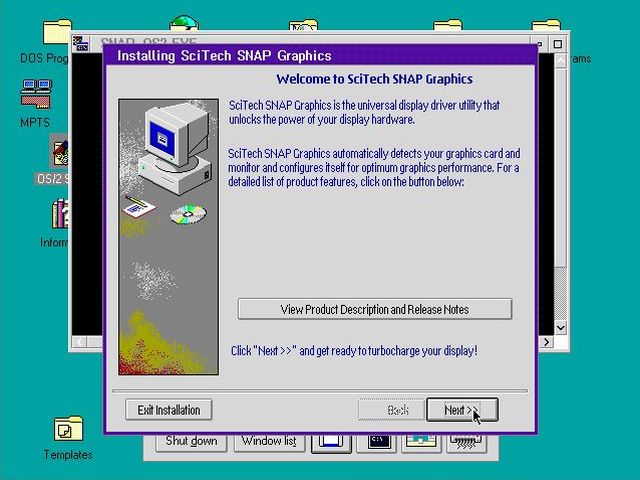
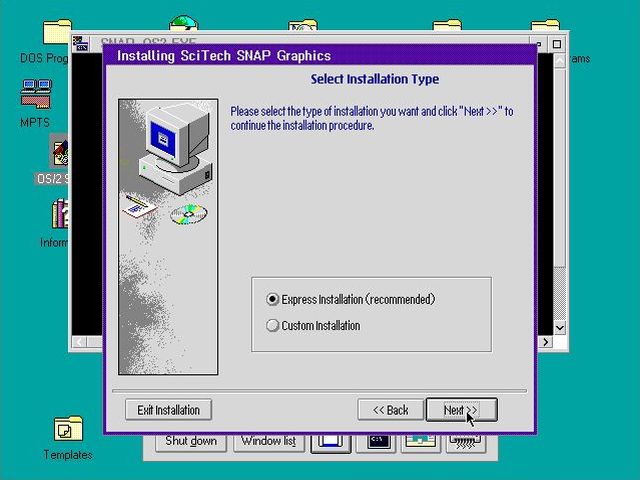
In the Welcome window, push the Next button to continue (screenshot on the left). In the next window, you'll have to accept the license, then to choose between express installation and custom installation (screenshot on the right); express installation worked fine for me.
 |
 |
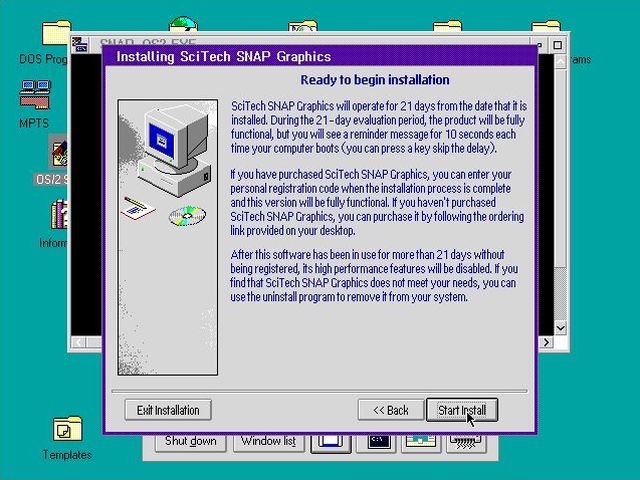
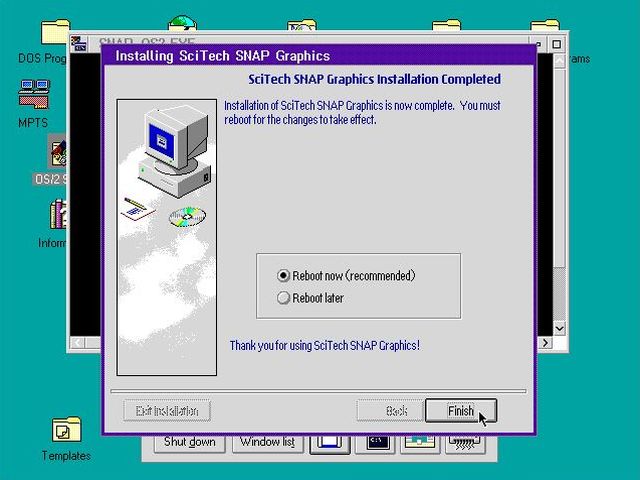
In the next window, you are informed that you can try the driver for 21 days and that after this period you'll have to register it (screenshot on the left), meaning that you'll have to buy a license. Don't worry, you will not have to do this. The driver CDROM at the gekk.info website contains a working registration code (cf. further down in the text). In this window, hit the Start install button. When installation is finished, you are told that your computer has to be rebooted to make the changes become active. You should do it immediately: with the Reboot now checkbox selected, push the Finish button (screenshot on the right).
 |
 |
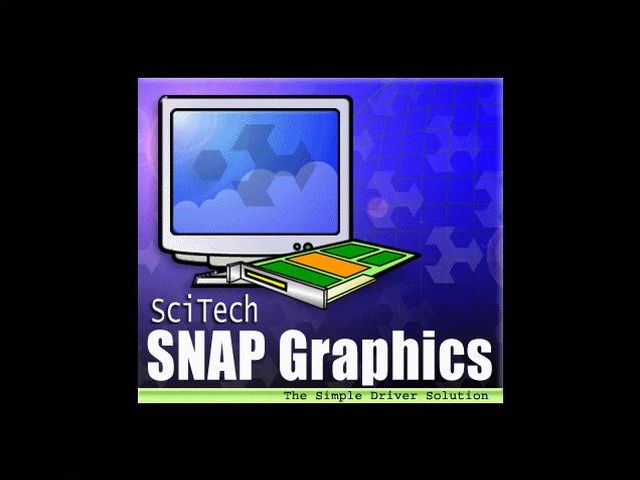
When rebooting, just before the desktop shows up, you should see a Scitech splash screen as on the screenshot below.
 |
Note: I guess it was an error of mine (perhaps not closing the installer, letting the CDROM in the drive?), but when the system restarted, the installation application launched a second time. If this happens, just push the OK button in the "unsupported device" window and then, in the next window, push Exit installation.
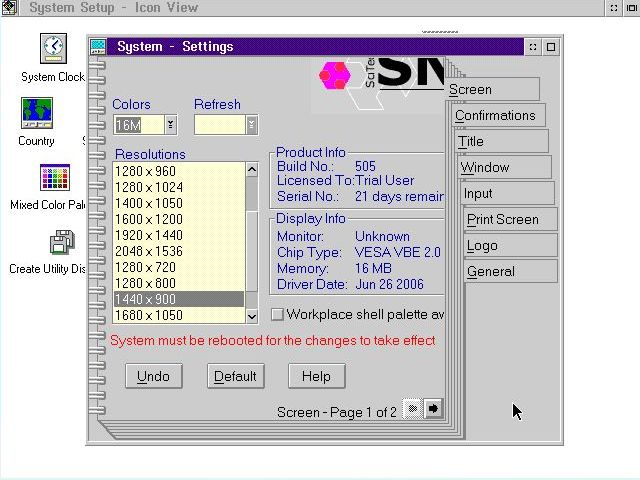
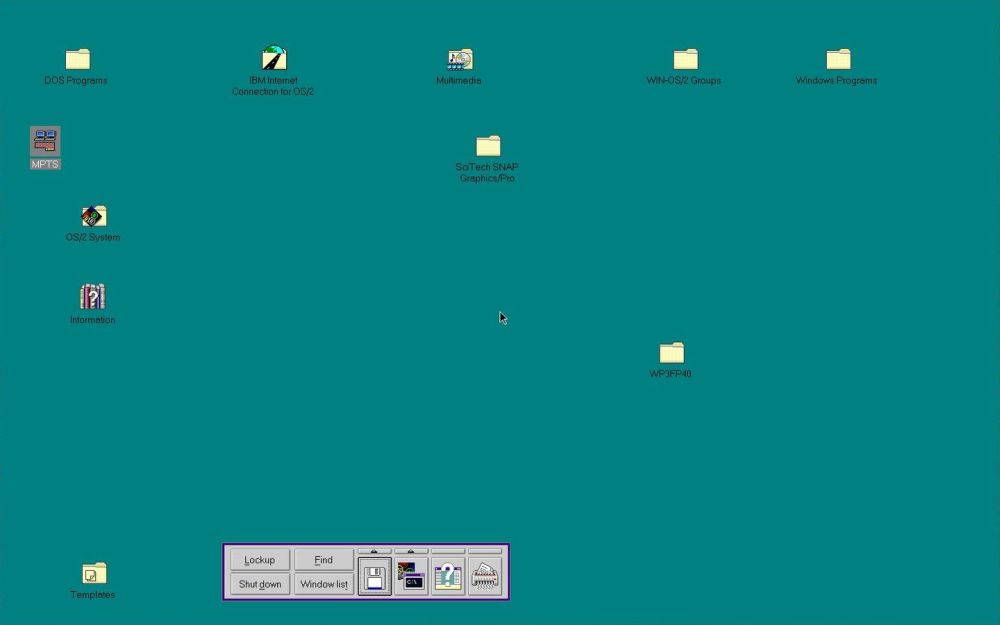
The moment of truth has arrived. Open Os/2 System > System setup > System in File Explorer. In the opening System - Settings window, choose the Screen tab. Click the arrow of the listbox with the available screen resolutions. This is amazing, isn't it? Resolutions up to 2048×1536 (not sure of they all work...)! Choose the screen resolution that you want to use. As for all my VMware virtual machines (I usually run them in a window), I chose a resolution of 1440×900 pixels. You'll also have to change the color depth: In the Colors list box, choose "16M". Concerning the refresh rate, I let this field empty and this works fine.
 |
When done, reboot. You should now have high resolution, high color graphics.
 |
Nearly done. Remains the driver registration. Open the newly created folder Scitech SNAP Graphics/Pro on the desktop and launch the application Registration Tool. It's a command line program that asks you for the full name of the owner and the registration code. You can find working values in the file SNAP_OS2.TXT on the driver CDROM. And a very last thing: Enjoy!
If you find this text helpful, please, support me and this website by signing my guestbook.