Installing BeOS 5 Personal Edition.
"BeOS was an OS developed to run on the BeBox hardware, a PowerPC based machine. The OS was first released in October 1995 for use on the AT&T Hobbit, and
moved over to the PowerPC platform the next year. An Intel x86 port of the OS began in March 1998 with version R3. The last version released was R5.1 in
November 2001 for x86 only. This OS was meant to be used for multimedia applications. It is POSIX compatible but is not a UNIX derived operating system.
BeOS 5 Personal Edition is installed into a 500 MB virtual hard drive on a FAT/FAT32 Windows partition (whereas the Professional edition
can be installed as any other operating system; it also includes extras that the Personal Edition does not include)".
The paragraph above is how BeOS is described on the BeOS 5 page of the WinWorld website, from where you can download BeOS 5 Personal Edition as an ISO image. The installation process requires 2 steps: 1. installation of some Windows system, 2. installation of BeOS, by running the CDROM setup program from within Windows. Concerning Windows, I recommend to use Windows 9x. Installation on a more recent OS (such as Windows Me, 2000, or XP) is also possible, but, because these system haven't anymore a real MS-DOS subsystem, booting BeOS is more complicated.
This tutorial describes the installation of BeOS Personal Edition on Windows 95B; it should also apply to other releases of Windows 95 as well as to Windows 98. The installation of Windows 95 is a standard Windows 95 setup and is not described here. Note, however, that you must not install the Creative Ensoniq AudioPCI driver. If you do so, BeOS will not be bootable (at least not without modifying your Windows 9x configuration).
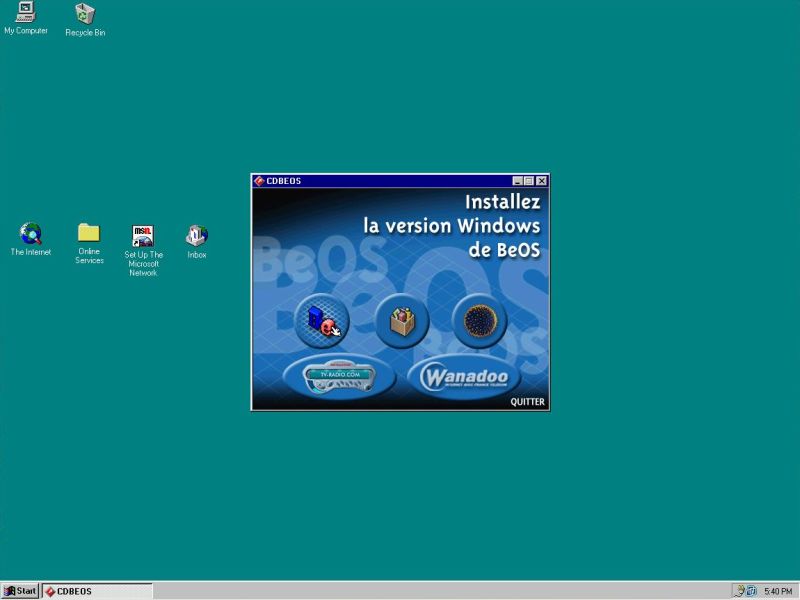
You install BeOS Personal Edition the same way as you would do with any Windows application. When inserting the installation CDROM, setup is normally started automatically via autorun; if not, open the CDROM in file explorer and run CDBeOS.exe. The Install the Windows version of BeOS window is displayed; no idea why it's in French. Click the first icon from the left to start setup.
 |
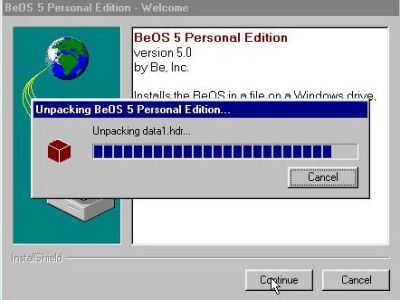
In the next Window, you are told (from here on, the language of the setup program is English) that you are actually installing version 5.0 of the OS onto a Windows drive. Pushing the Continue will unpack the setup files.
 |
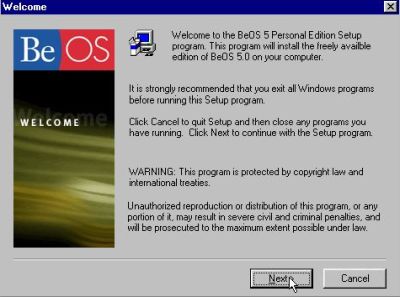
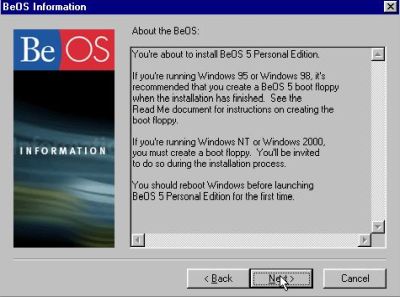
After the Welcome window (screenshot on the left), the About window (screenshot on the right) is displayed, telling you about creating a boot floppy (recommended on Windows 9x, mandatory on Windows Me, NT, or higher).
|
|
Somewhat bizarre: The setup program gives you the possibility to choose the installation drive (default is C:), but not the installation folder, that is automatically called "BeOS" (so, the OS being installed to C:\BeOS). After the drive selection, you are asked for the Windows 95 program group (where the BeOS launcher will be placed), then the Current settings window (summary of your choices) is displayed.
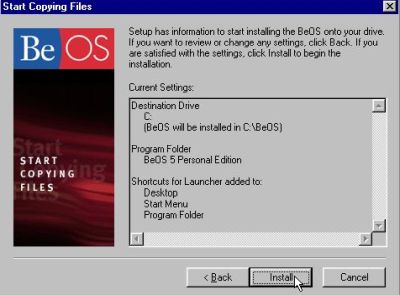 |
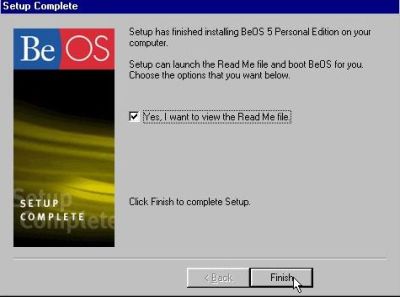
Push the Install button to start file copy. When done, and after having asked you if you want to register your BeOS, setup is complete. You may or may not view the readme file. Finally, push the Finish button to exit setup.
 |
You can start BeOS by double-clicking the shortcut that has been created on the Windows 95 desktop (or use the launcher in Program menu). Please, note, that starting BeOS is not launching a Windows application. In fact, when you do so, the computer is restarted, and instead of booting into Windows 95, it will boot into BeOS 5 PE.
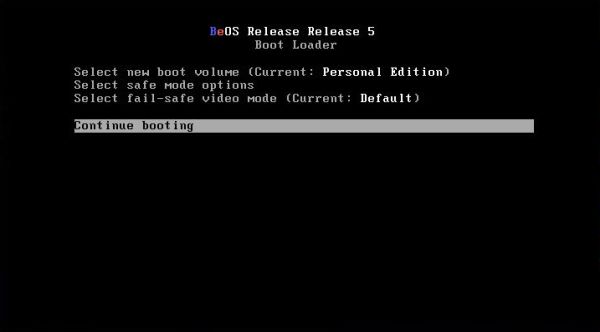
BeOS boots up with the display of a boot menu, containing the following items:
- Select new boot volume: This allows to choose the drive from where to boot BeOS (allowing to install several BeOS systems side by side, I suppose).
- Select safe mode options: This is similar to safe boot on Windows
- Select fail safe video mode: This should give the possibility to set screen resolution and color depth for an unknown graphics card. Unfortunately, this does not always work. On my Dell G3 laptop, for example, any changes of the settings result in a failure to boot BeOS, with nothing displayed but an entirely black screen.
- Continue booting: This actually boots your BeOS 5 Personal Edition
 |
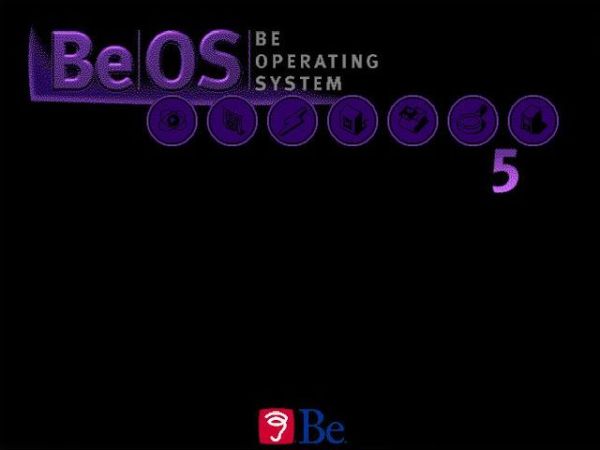
The system boots up with the BeOS initialization screen, where you can follow the initialization of the different components. It's at this stage, where my system hangs with an entirely black screen when I try to set the video mode. It seems that the boot menu isn't always displayed (maybe because of some settings I changed?). You can force it to be displayed by hitting the space bar when the system starts up.
 |
When BeOS is started for the first time, the Thank you and Read me first file is displayed. But, there are chances that you also get the message The graphics card in this machine is not supported by the BeOS. There are solutions to this issue available, as for example experimental video drivers that might work. I myself haven't succeed in changing the video settings, and thus I'm running my BeOS 5 PE with a resolution of 640x480 pixels and gray shades instead of colors...
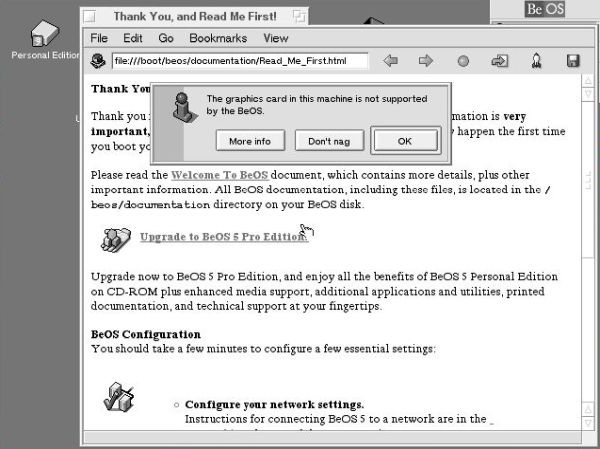 |
Note: You can "turn off" this message by pushing the Don't nag button in the corresponding dialog box.
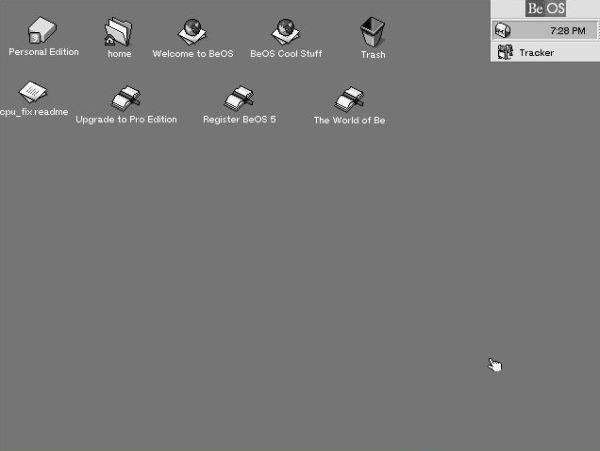
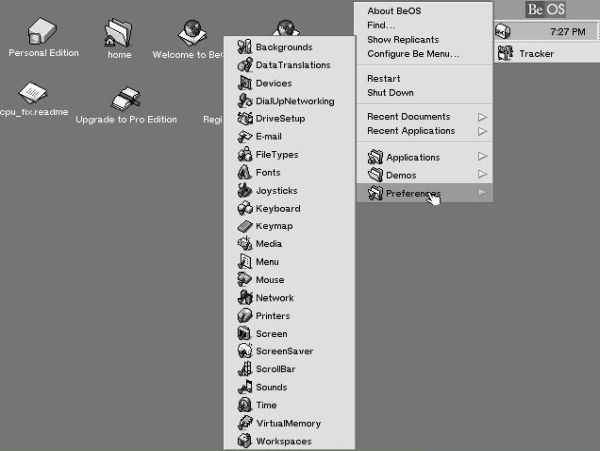
The screenshot on the left shows the BeOS 5 PE desktop. At its upper right corner, you can see the Deskbar (labeled "BeOS)", that is comparable to the Apple menu on macOS or the Start menu on Windows. When you click it, a menu opens. It contains, among others, an expandable item called Applications that allows you to launch the different apps, and another expandable item called Preferences (screenshot on the right), that gives access to the configuration of the system. It's also here where you have to go in order to shutdown or restart the system (to note that "Restart" will reboot the computer and so start Windows 95, not directly restart BeOS).
|
|
Among the icons on the left part of the desktop, we have:
- Personal Edition: This is comparable to Computer on macOS, giving access to the file system, the applications, ...
- Home: This is comparable to the Home folder on macOS.
- Welcome to BeOS: This opens the BeOS 5 PE documentation.
- Trash: This corresponds to the Bin on macOS.
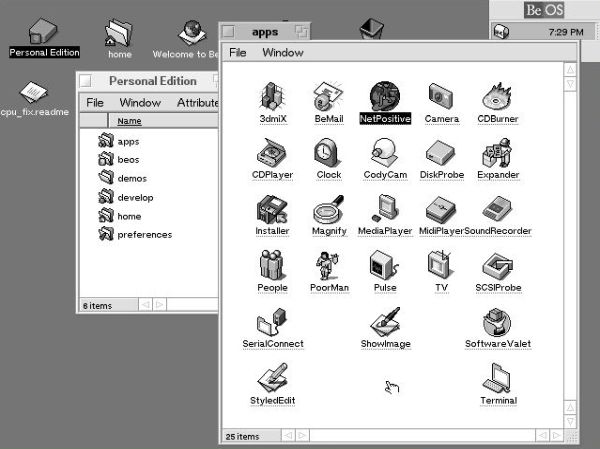 |
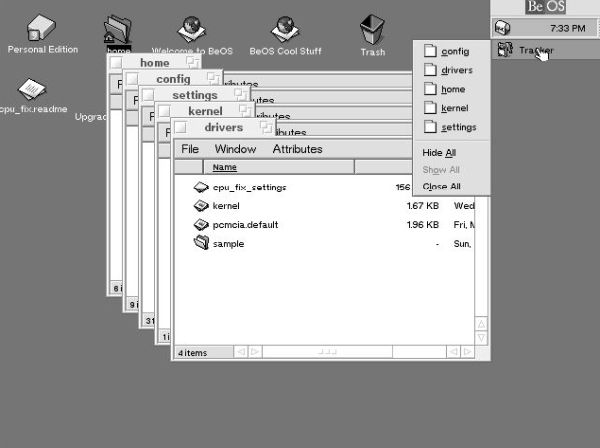
Browsing the folder structure is similar to the way it appears on the old Windows releases, as for example Windows 95 and Windows NT, i.e. there is not one single file explorer window, showing the content of the last folder opened, but a separate window for each folder. These opened windows are placed into the Tracker (that you find below the Deskbar at the top-right corner of the desktop). You can use this feature to show, hide, or close all windows, as well as to bring one of them to the foreground, making it this way the active one.
 |
Note that there are further ways to execute commands on BeOS: As on other operating systems, the right button mouse-click opens a context menu (several important commands may be executed by right-clicking the desktop). And also as on other OS, there are keyboard hotkeys, that may be used to directly execute a command; e.g. ALT + F = Find, comparable to Windows-key + S = Search on Windows.
With this note, my tutorial concerning the installation of BeOS 5 Personal Edition is finished. If you want to know more about this OS running on Windows, you might want to continue reading with BeOS 5 Personal edition post-installation setup (another tutorial on my site).
If you find this text helpful, please, support me and this website by signing my guestbook.