Configuring the GRUB bootloader.
GRUB is not only the most used bootloader in the Unix-like world, but with its help, it becomes easy to use several operating systems on the same computer, such as for example in a dual boot of Windows with some Linux distribution. Also, GRUB allows to start a given system in various ways, for example to start Linux in graphical, text, or recovery mode.
This tutorial shows a very simple way (even for Linux beginners) to change the GRUB configuration. No need to edit configuration files, no need to worry about what to do when such files have been modified, just using a GUI application, called GRUB Customizer, that allows you to make the changes that you want in a graphical window, and all you have to do to make the new configuration becoming active being to push a button. The tutorial actually is some system sysadmin work that I did on one of my VMware virtual machines, where I had installed a dual boot of Windows 10 Potato and Sparky Linux 7 Gameover Edition. The installation of GRUB Customizer has been done on Sparky Linux. Sparky Linux being Debian based, I think that the tutorial should apply as such to most, perhaps all Debian based Linux distributions. And I suppose, that GRUB Customizer also exists for other distributions.
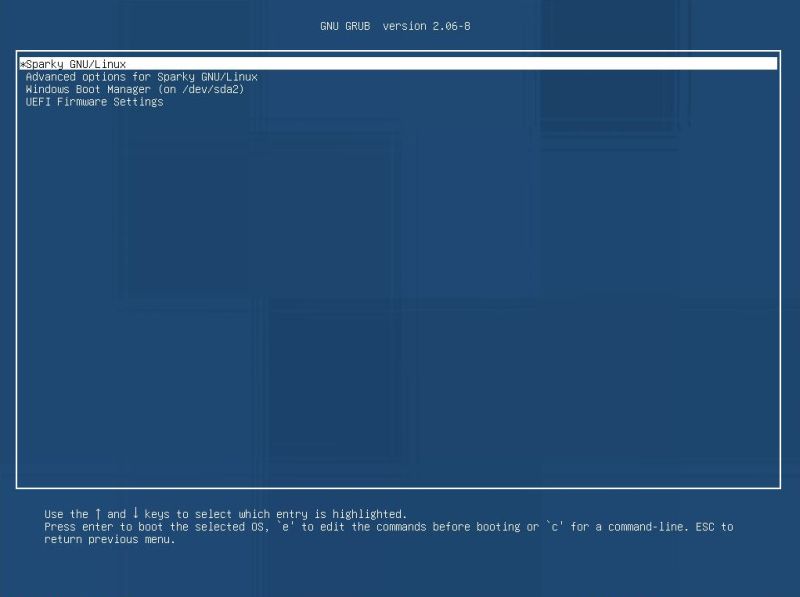
The screenshot below shows the original GRUB boot menu on my VM. The main changes that I wanted to make, were altering the name of the Windows related menu entry, and also setting Windows at the top of the menu and make it the default operating system. Later on, I decided to also change the name of the Sparky menu entry.
 |
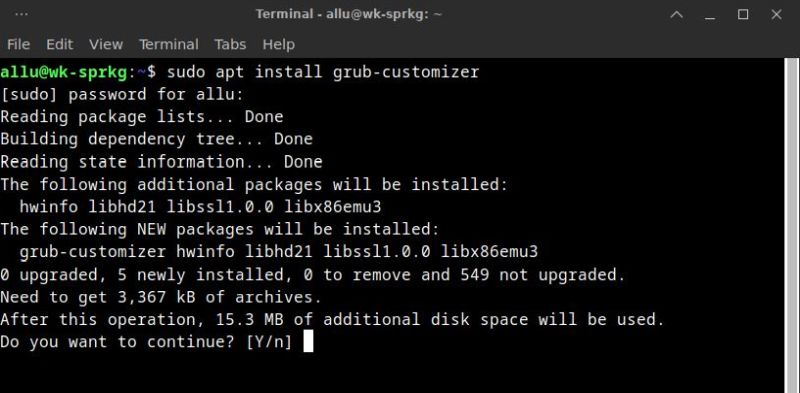
The installation of GRUB Customizer may be done in a terminal, running the command
sudo apt install grub-customizer
 |
Note: You may not succeed to install GRUB Customizer on Ubuntu 22.04, and perhaps other systems; for details, please have a look at How to Install Grub Customizer on Ubuntu on the It's Foss website.
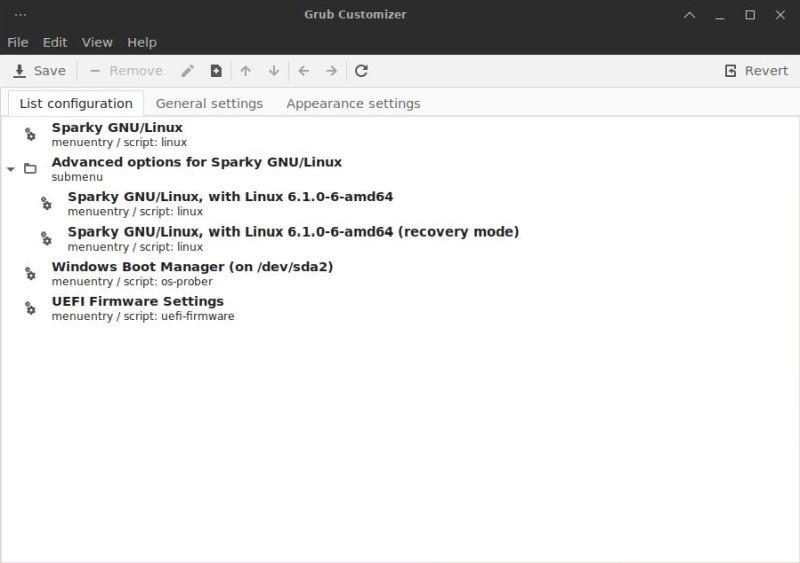
After install has finished, you'll find the applications in the System group of the Start menu. Start the application by double-click. In the List configuration tab of the GRUB Customizer GUI, you can see the GRUB boot menu entries; below you find a screenshot of the menu items on my Wind0w 10 and Sparky Linux dual boot machine.
 |
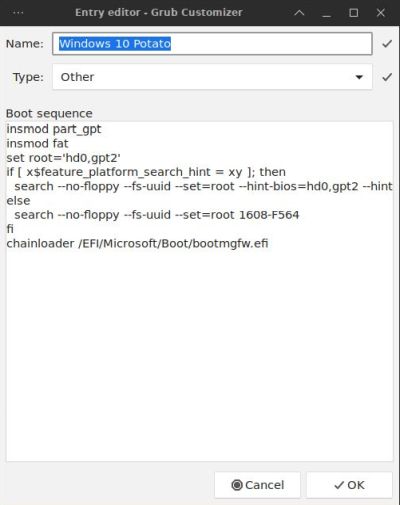
To change a boot menu entry, right-click it with your mouse and choose Edit. The screenshot shows how I set the Windows boot menu entry to "Windows 10 Potato".
 |
In the General Settings tab of the GUI, you can set the default operating system and the time-out value before it is booted, the kernel parameters, if other OS should be looked for, and if to include recovery entries in the menu. The screenshot shows the situation after I did some modifications.
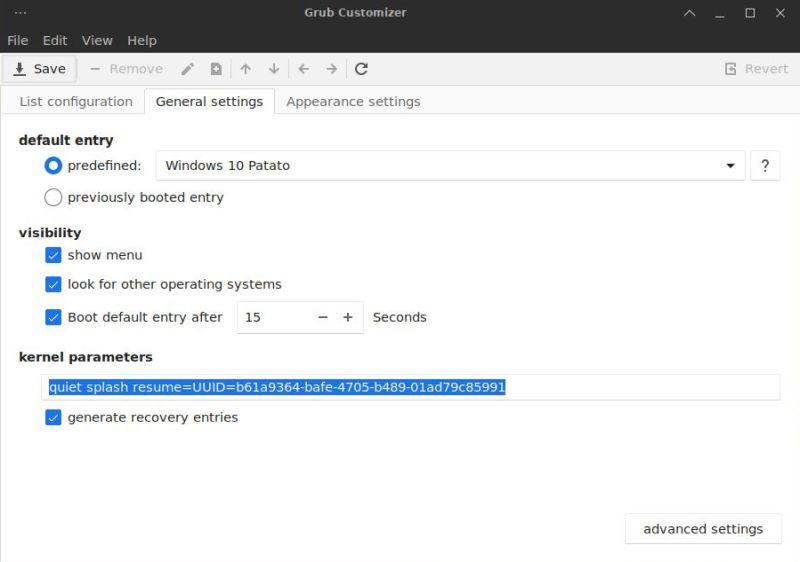 |
To save the new settings and apply the changes to the system, push the Save button. Two things to pay attention to: 1. If you make some major changes (such as changing the kernel parameters), be sure that your modifications are correct before you push the button, because doing so applies the changes without asking for confirmation. 2. Writing the new configuration takes some seconds. During this time, you'll see an animated blue line below the text in the GUI window. Be sure not to close the window until this line has gone and the dimmed items of the application menu become enabled again (i.e. until the configuration has actually been updated).
And, to terminate this hopefully helpful text, here a screenshot of my new boot menu (the Sparky entry also having been changed).
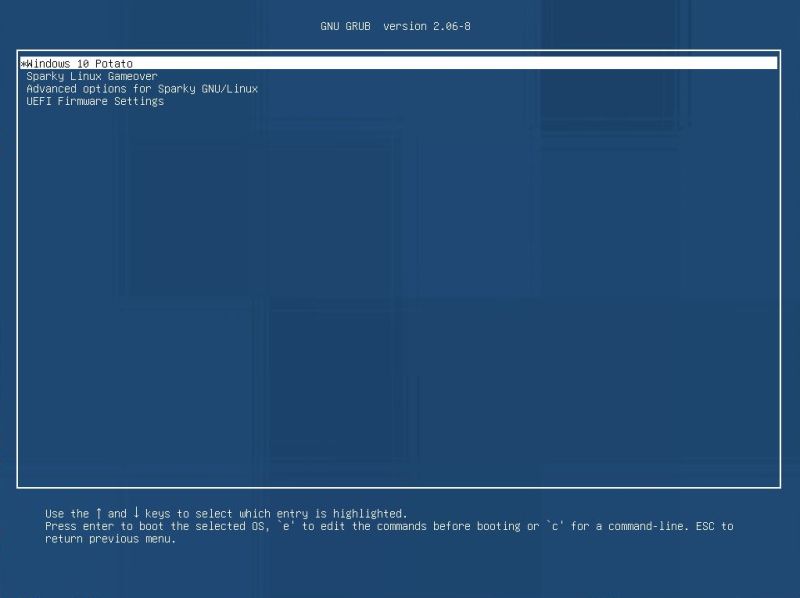 |
If you find this text helpful, please, support me and this website by signing my guestbook.